Modify Text Label Properties
Brief
The article explains how to modify text label properties.
Details
To modify properties of a text label
- Do one of the following:
- Double-click the text label.
- Right-click the text label, and then, in the menu that appears, click Change Label 'Text' where Text is the
text of the label.
- See Change Properties/Remove Chart Elements.
- The Label Properties dialog box appears.
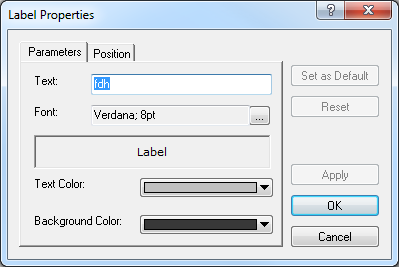
- On the Parameters tab, modify the following parameters if necessary:
- In the Text box, type a new text of your choice.
- In the Font box, click the ellipsis button
 , and then, in the dialog box that appears, modify the existing font, font style and size,
script, and effects if necessary.
, and then, in the dialog box that appears, modify the existing font, font style and size,
script, and effects if necessary.
- In the Text Color box, click the arrow button
 and select a new color of your choice for the label text.
- In the Background Color box, click the arrow button and select a new color of your choice for the label background.
Notes:
- To apply the selected properties (except for the Text box) to all text labels to be added in the future by default, click Set as Default.
- To restore the factory settings, click Reset.
- To specify the text label's new position on the chart, click the Position tab. The dialog box opens on the Position tab.
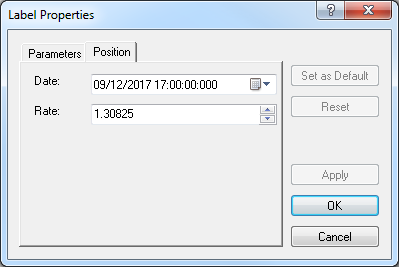
- In the Date box, specify a new date and time, on the level of which you want the text label to appear.
- In the Price box, specify a new price, on the level of which you want the text label to appear.
Notes:
- To apply the selected parameters to all text labels to be added in the future by default, click Set as Default.
- To restore the factory settings, click Reset.
- Click OK.
back